![]()
Goat Trailer Conversion
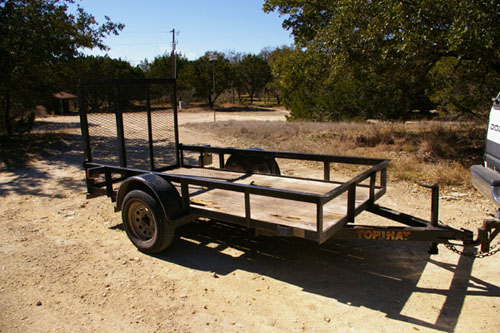
All trailer conversions begin with a utility trailer, either provided by a customer or one we have acquired specifically to convert.
The following pictures take you through the process from beginning to end.
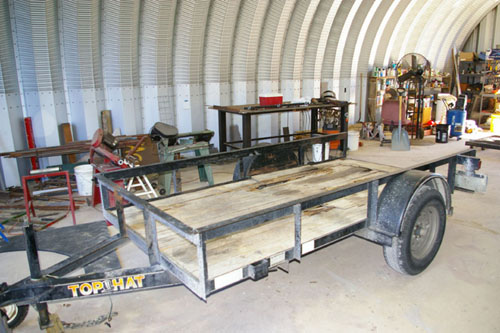
The first step is a good solid utility trailer.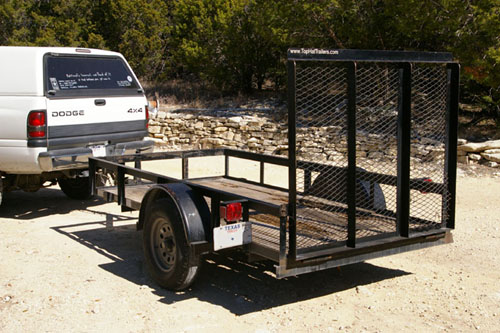

Then it is into the shop for inspection and tear down.
The ramp and decking are removed. They will not be reused for this trailer.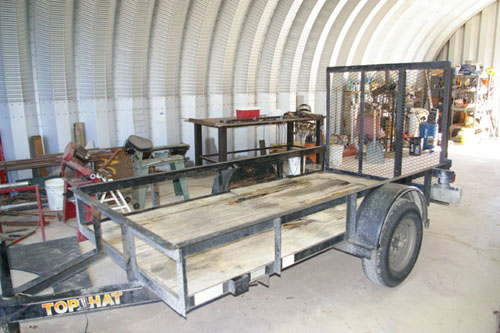
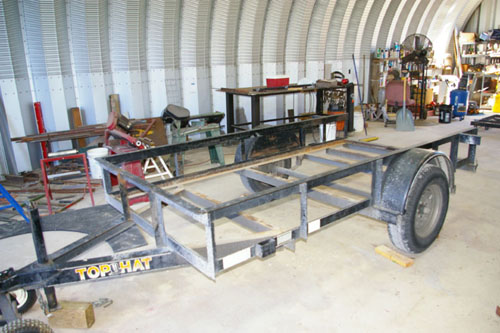
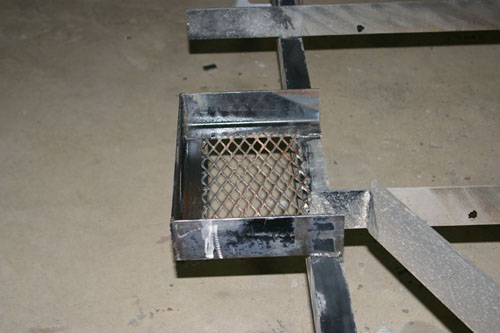
Off go the front and side rails. Some of that angle steel was reused to build the deflection guards on the rear corners.
The wheels and fenders came off. The fenders and wheels will be reused, but the tires were too badly worn.
Finally the surface rust is removed.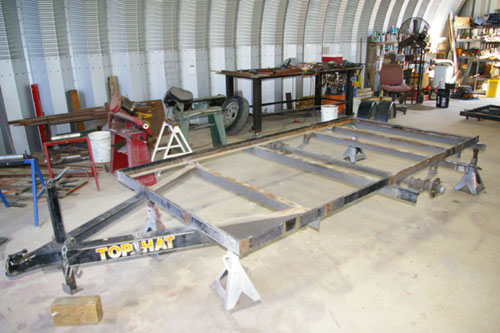
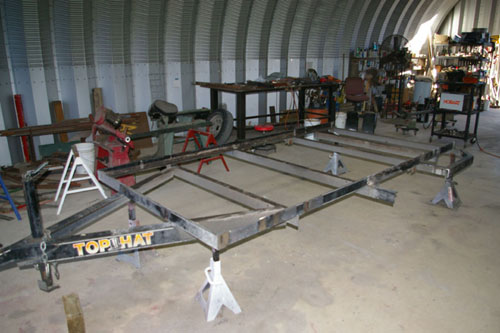
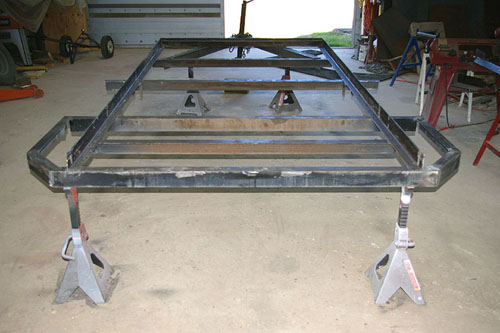
The frame is turned upside down so the cleaning and build can continue.
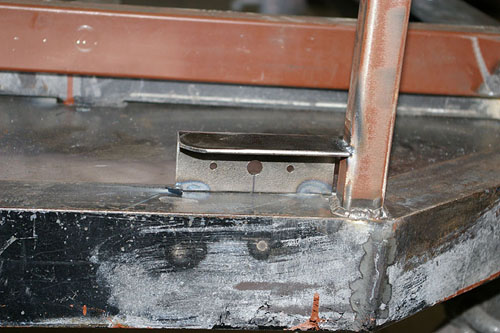
The base for the spare tire mount is welded on and the finish welds are done on the deflectors.
Conduit, grounding bolts and wiring mounts are installed for the wiring. Goats love to get under trailers and chew the wiring. Not on this trailer.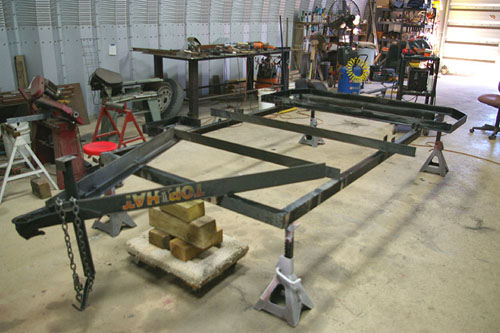
All the rust has been removed and the metal treated and painted with a heavy coat of red oxide primer.
Next, a heavy coat of black Rustoleum paint is applied and the underside is finished.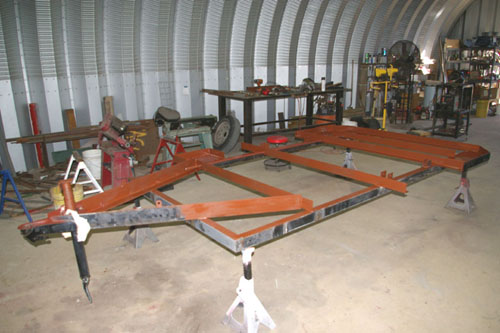
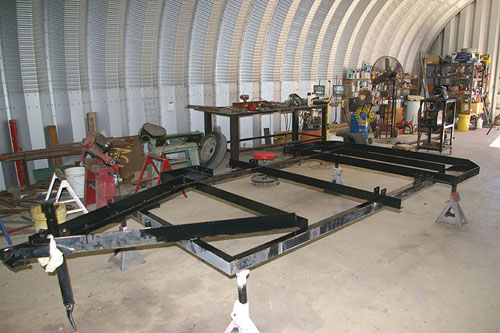
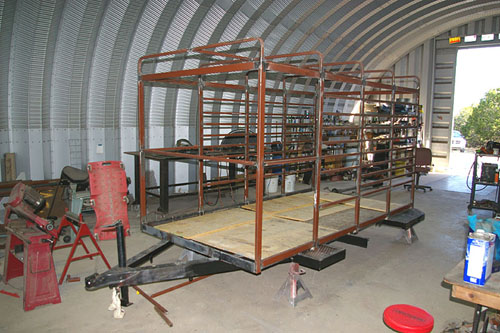
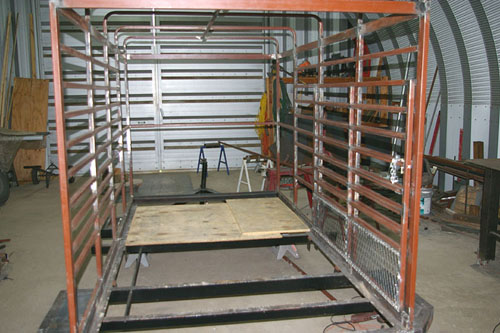
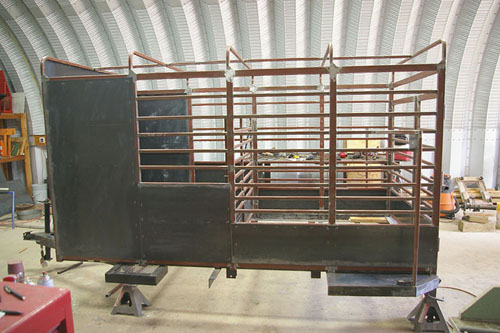
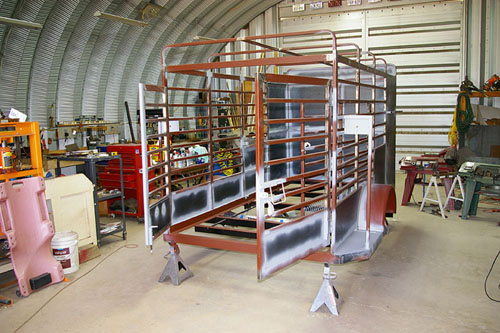
The trailer frame is turned right side up again and the build of the enclosure is started.
First the vertical structure is welded on, followed by the bows and then the horizontal bars.
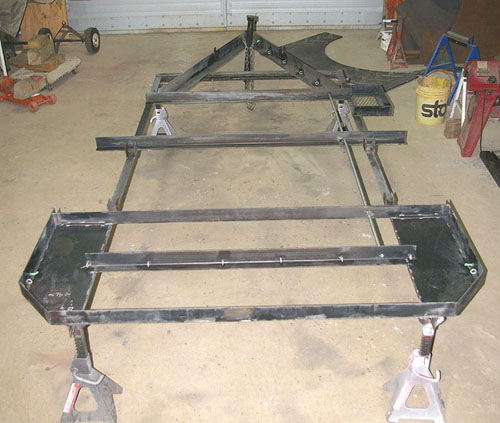
The finish welds are done to the spare tire mount base.
It is now starting to look like a goat trailer.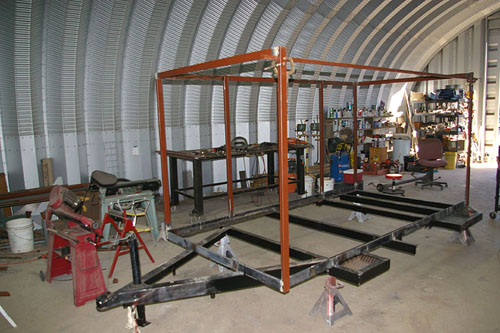
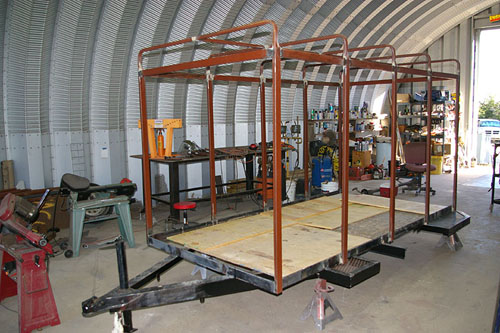
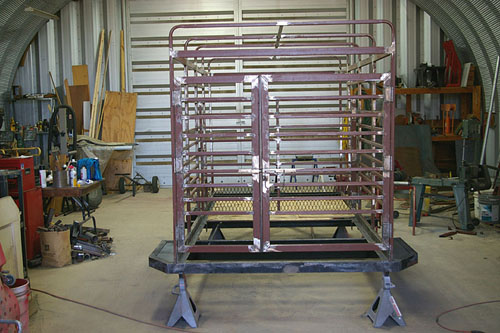
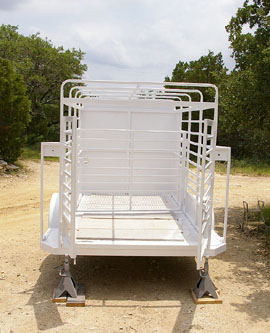
The interior divider gate is installed with three heavy duty weld-on hinges.
It is hinged to open to the right side to facilitate loading and animal control.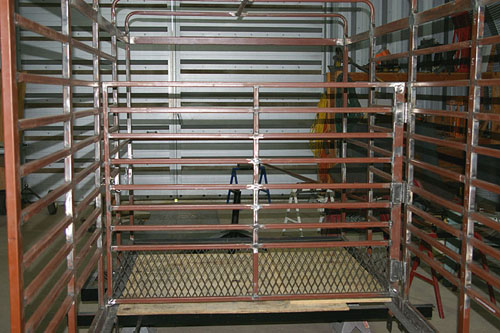
Lots of small details go with the interior gate, such as a rest to hold up the gate when the goats stand on it. This eliminates undue stress on the hinges.
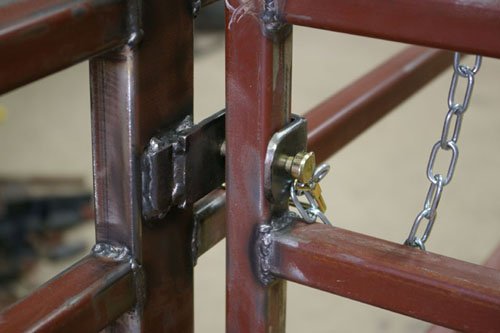
Latches positioned to hold the gate open and closed so that only one locking pin is needed.
The locking pin is secured to the gate by a chain. 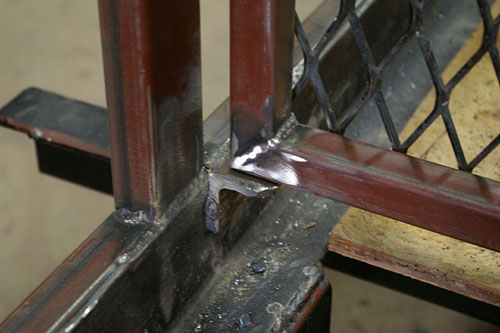
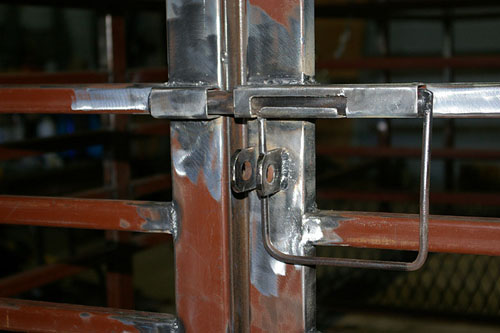
The rear gates are different sizes. The right gate being larger than the left. The left gate can be secured closed and the goats loaded through the right side.
They can't slip back out on your left side that way. If needed, both gates can be opened.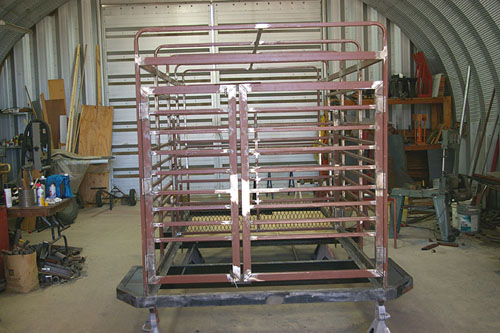
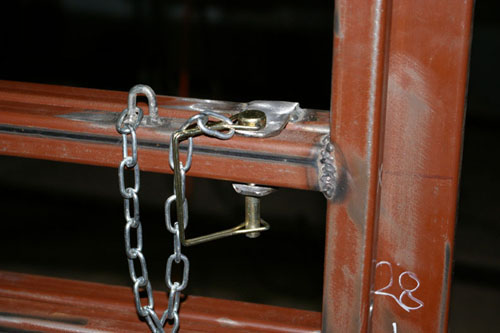
The latches for the rear gates were next on the schedule.
The left gate latch secures it to the floor top plate. This allows the left gate to serve as the anchor point for the right gate latch.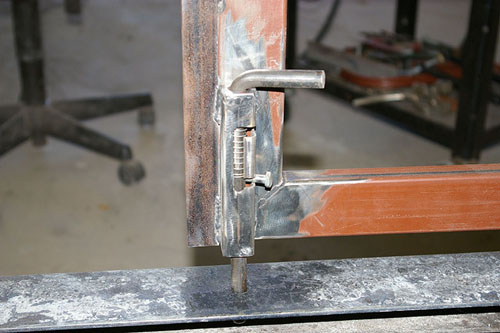
Light mounts came next. The tail lights are mounted up high so as to be easily seen by following vehicles.
The mount also serves as a grab bar and tie point.
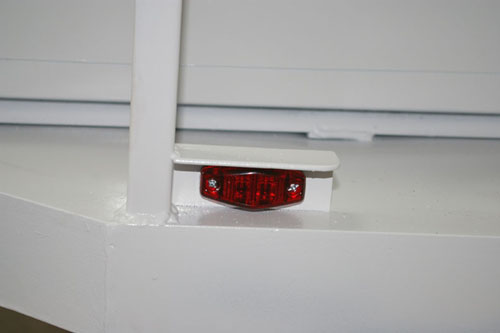
The side marker lights will be mounted inside angle steel to protect them from damage. 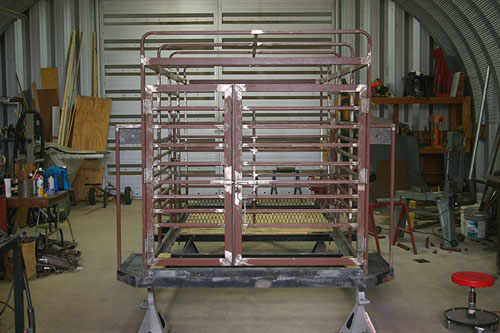
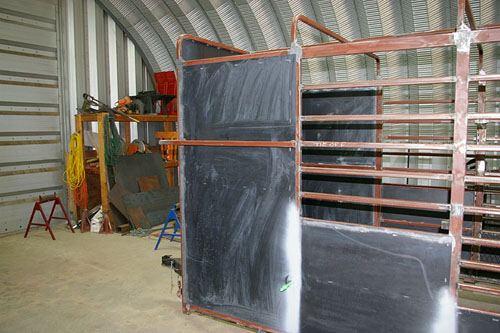
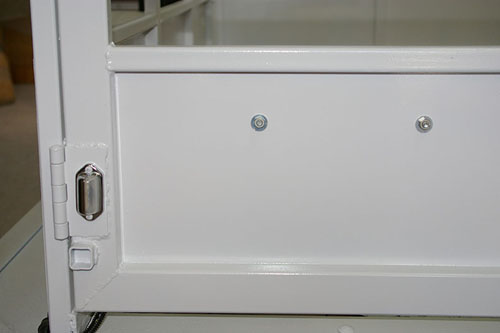
Sheet metal covers the front of the trailer and on the sides.
It protects the goats from road spray during transport in rainy weather.
A tie down bar around the sides and front to secure the tarp is welded in place.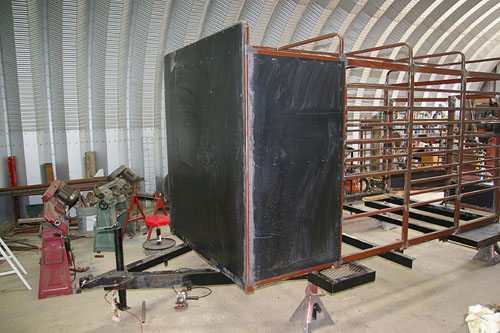
The original fenders have been cleaned up and receive a heavy coat of red oxide primer.
All of the welds are treated, the fenders are welded back on, and all of the gaps around the sheet metal and fenders are filled with caulking, then primed.
The axle, hubs and springs are reinstalled after the replacement of the bearings and seals and a fresh coat of black paint.
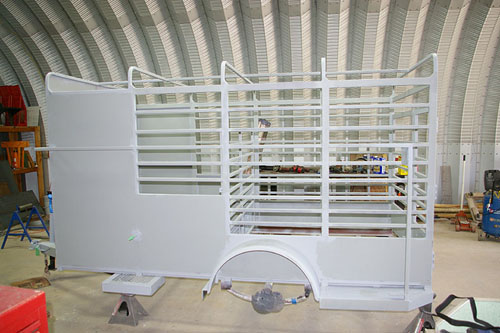
A coat of gray primer is applied inside and out in preparation for the white topcoat.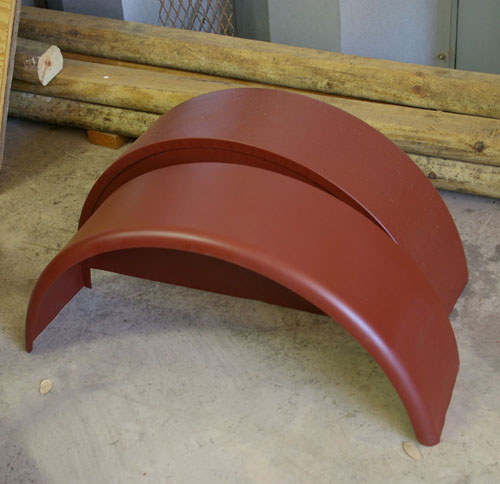
Three new 10-Ply 225/75R-15 tires are mounted on on freshly painted white wheels.
New pressure treated 2X6 inch boards are installed.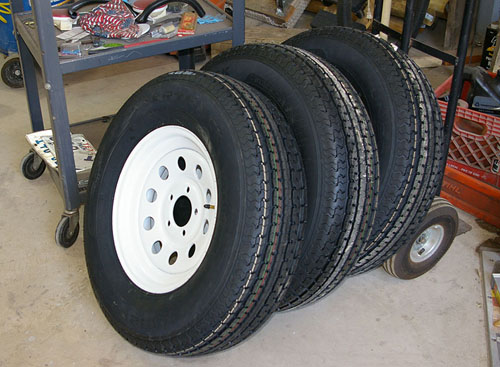
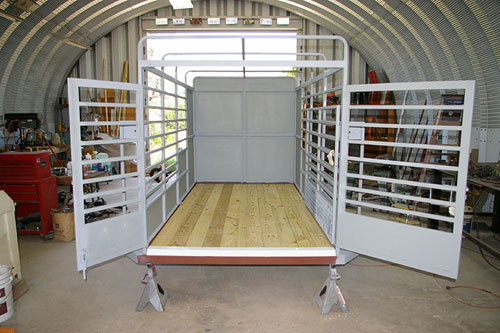
Outside for 1.5 gallons of Rustoleum gloss white paint.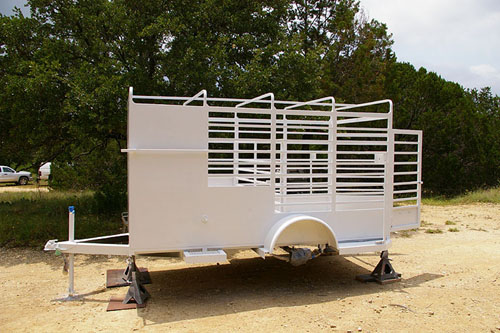
Back into the shop for lights and wiring.
The lights are super bright LED, to include the licence plate and marker lights.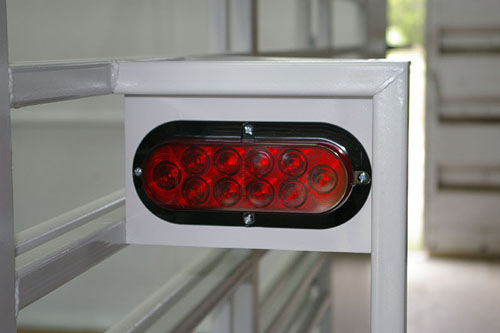
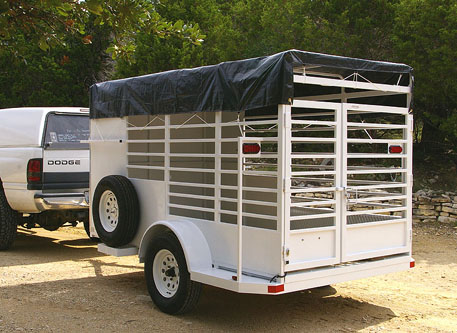
Top off the trailer with a tarp and the conversion is finished.
That folks, is how to convert a utility trailer into a goat trailer.
Time elapsed, four months start to finish.